
Our setup at Basecamp for testing our iOS apps is pretty neat. It (synonymously) involves Xcode’s CI Bots, but that’s easily the most uninteresting part of it. Here’s how we continuously integrate our iPhone and iPad apps at Basecamp and get build results into our Campfire.
Build your bot
This is easily the trickiest part. However, it is pretty boring. Once you’ve followed Apple’s tutorials to setup OSX Server and the Xcode service (which I will skip or lose pretty much everyone reading this for several hours), you just need to head to Product > Create Bot inside of Xcode.
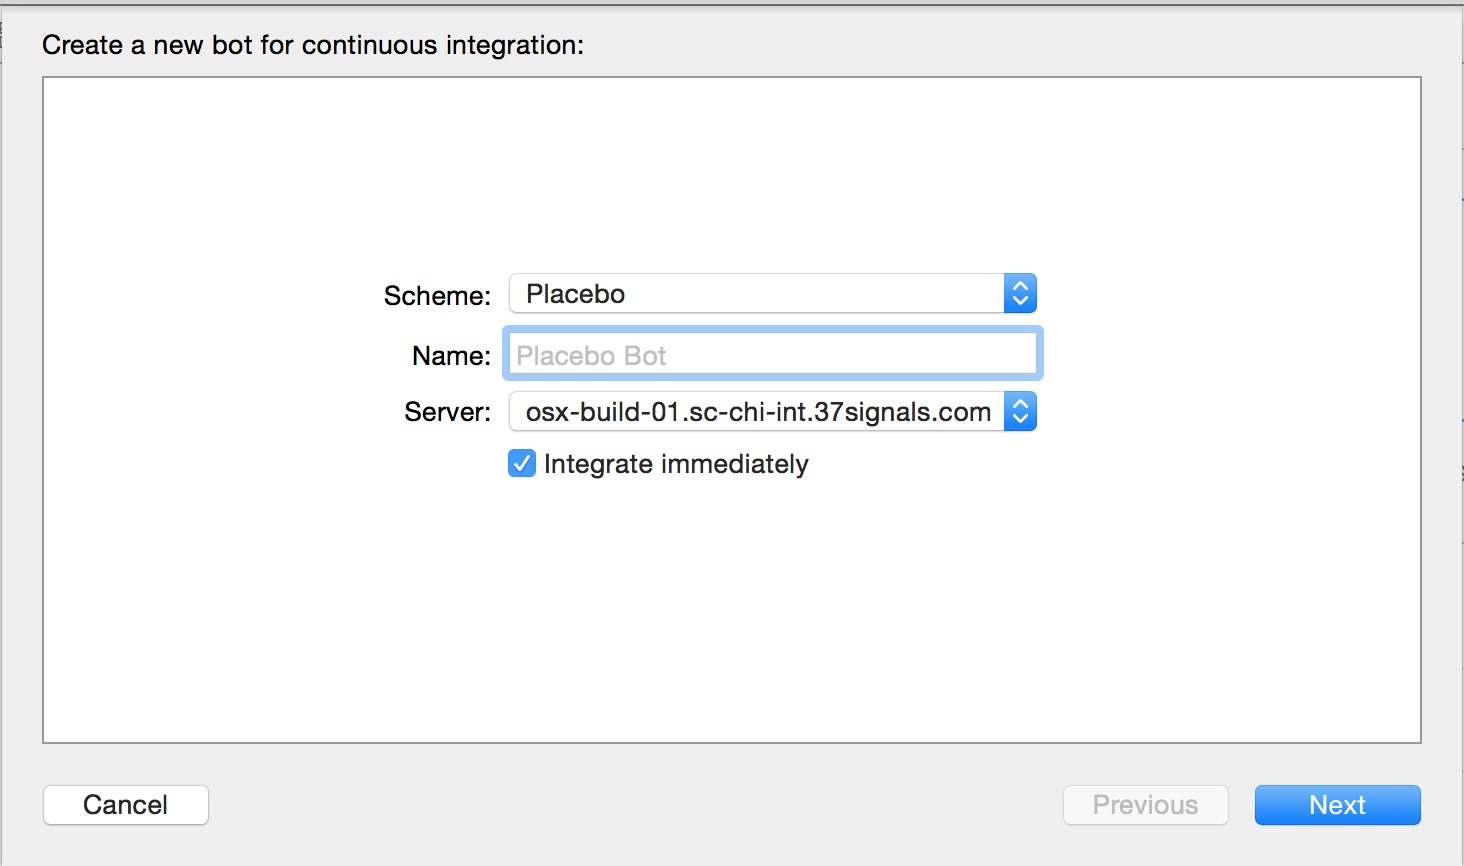
I recommend creating an empty Xcode project first to just make sure everything is working – don’t start with your main iOS codebase. I named it “Placebo”.
We have some specific settings on our bots. Here’s a screenshot for each screen in the bot wizard, since there’s no way to share them outside of the Xcode walled garden. The first screen is the easiest:
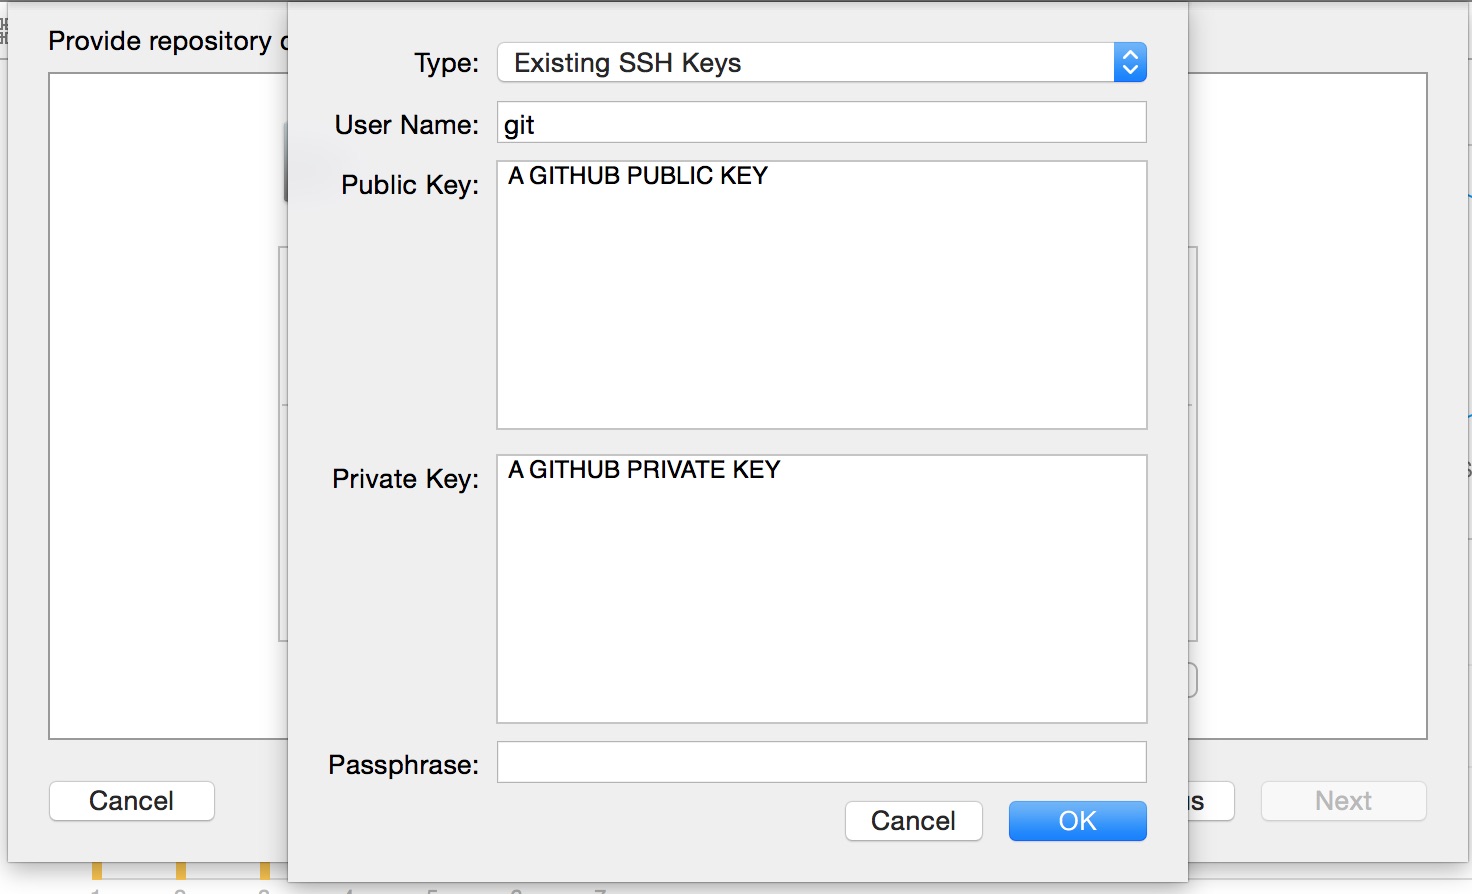
Next up are credentials. I highly recommend you do not use the default here. Instead use a read-only deploy keys on your GitHub repo. Usually it puts your own public/private SSH key in there, which is just awful.
For our projects we usually skip the “analyze” action. Checking every 5 minutes for new commits usually enough for us too.
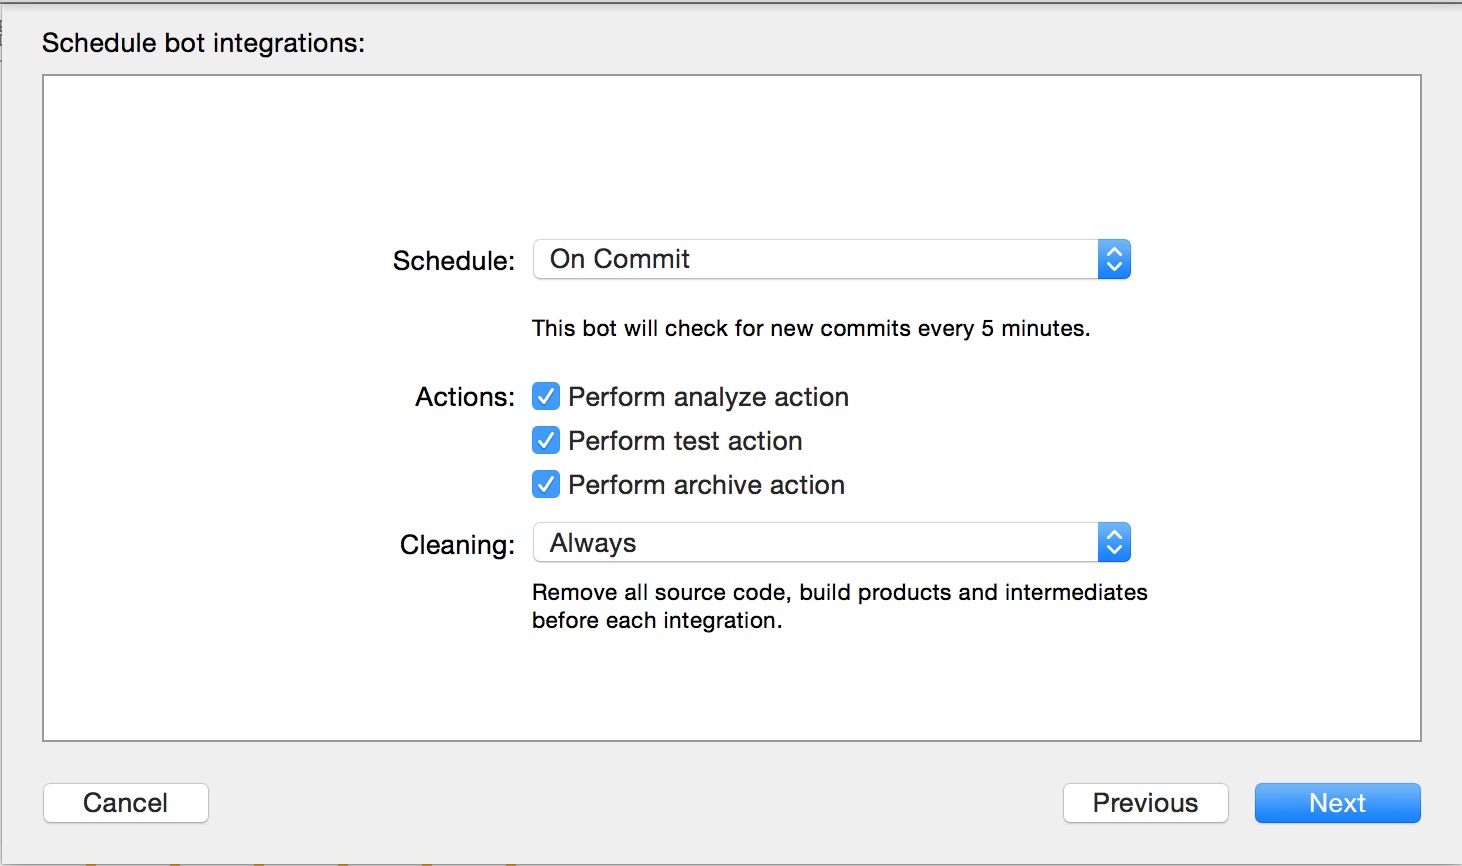
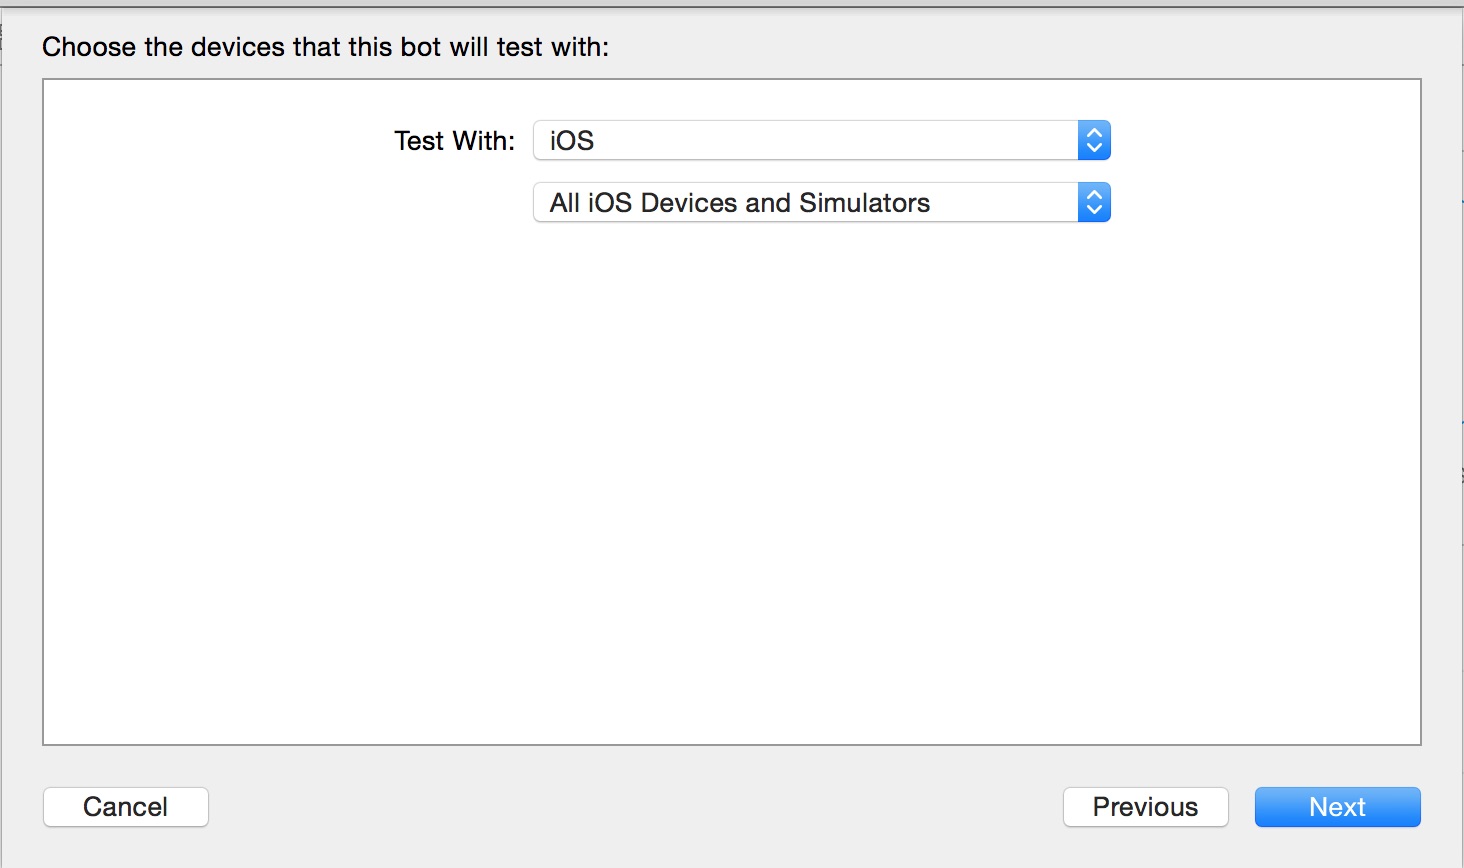
Test with all the simulators you need (on Basecamp for iPhone we skip iPads, for example):
If you’re using Cocoapods, you’ll need a “Before Integration” script to install any pods. Using this gist will help, but you need to install Cocoapods (and Ruby) separately on the server first.
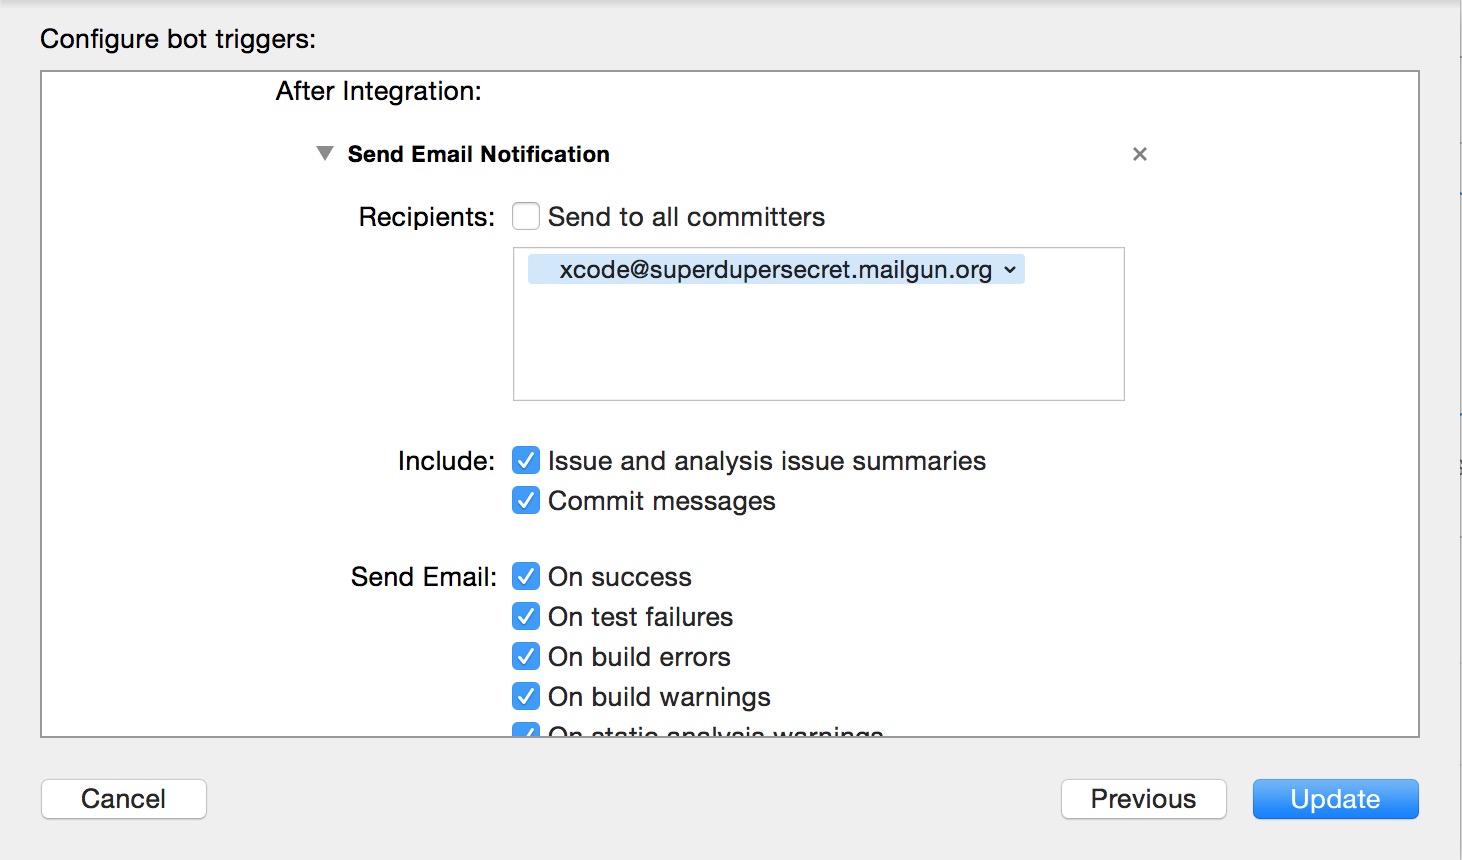
Finally, our secret sauce: Add an “After Integration” hook to send an email notification. We send one for nearly everything that could go wrong (and right!) with the build into Mailgun, because this is the only API that Apple provides for bots. Seriously.
And that’s it. From there you’ll begin the dance of just getting the app to build on your server. Usually a whole litany of problems can happen, but luckily the logs are all captured inside of Xcode so you don’t have to go hunting too far to see what went wrong. Let’s continue on our path to Campfire.
Mailgun it down
Since all we have to work with is email as an API, we have to get creative. Luckily, Mailgun is perfect for this. Once you’ve made an account, you’ll want to make a new Route, which you can do from their web interface. Ours looks like this:
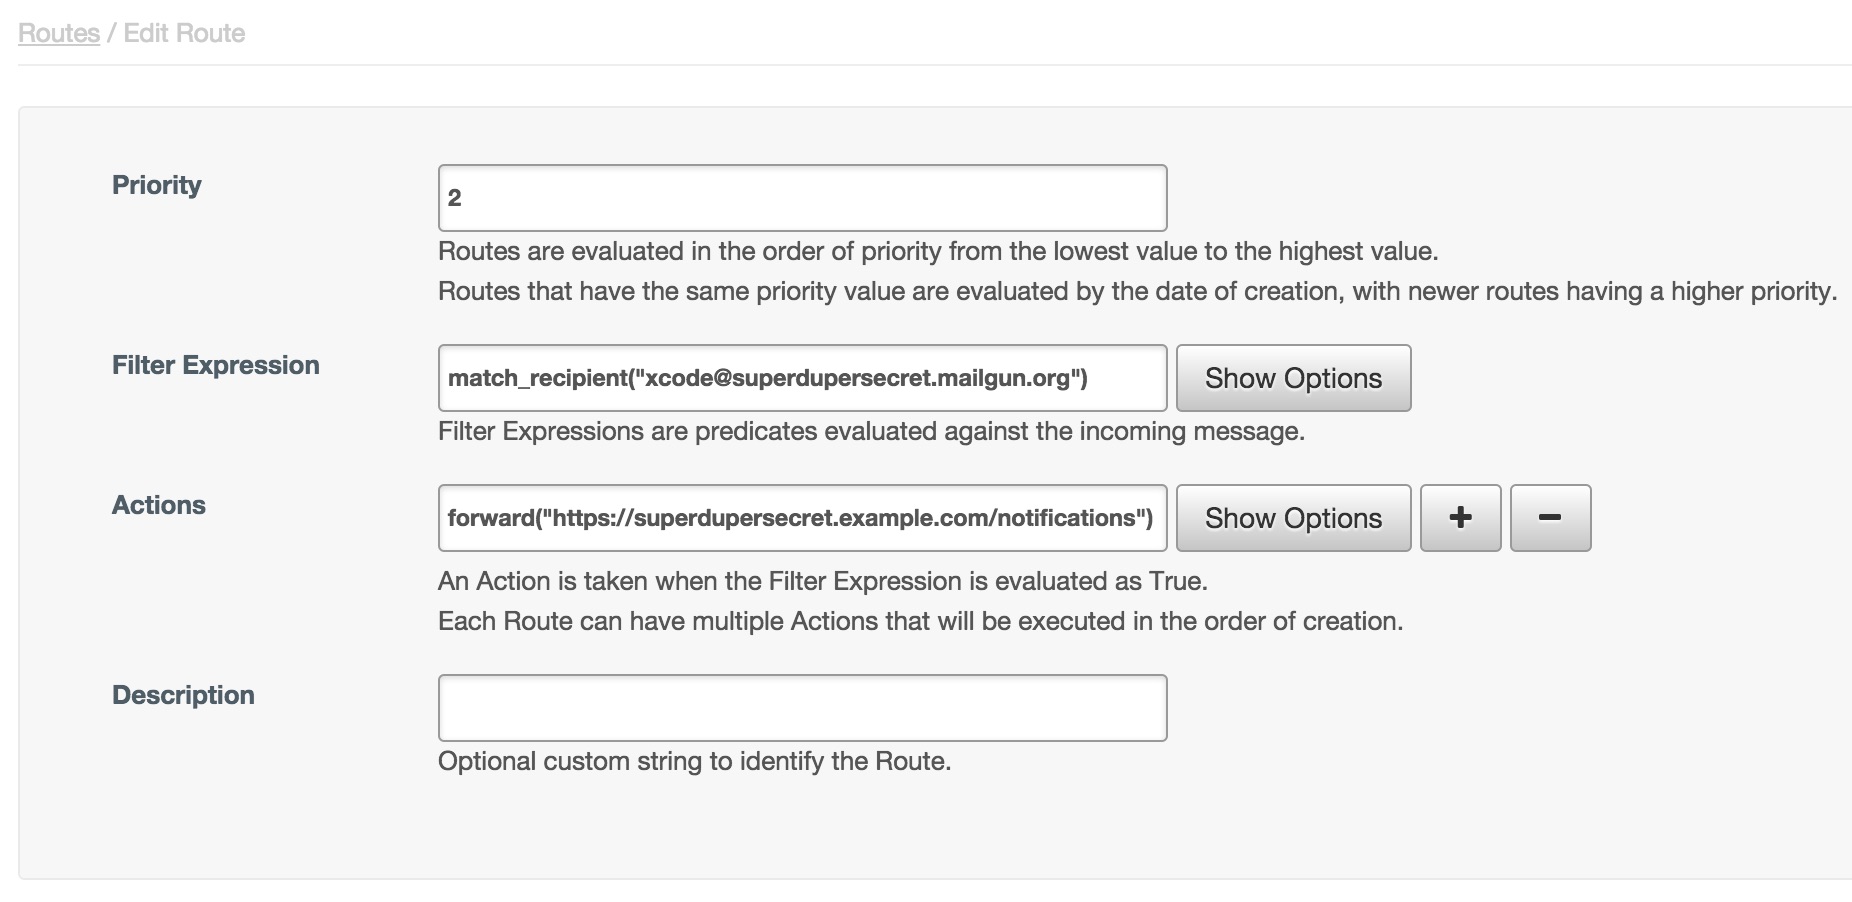
Granted your domain is setup properly and your OSX Server can send mail, when a build is kicked off, it’ll email Mailgun with the result, and then HTTP POST that result to a URL of your choosing.
For us, that URL is inside of our internal app Dash, but this could easily be an app on Heroku, DigitalOcean, or anywhere you’d like. You could even skip this part entirely and use Zapier’s email app to accept the email, which might be a lot easier too. Let me know if that works out better for you!
Dash to the finish
We need to notify Campfire about the build passing. Or failing. Hopefully passing. Here’s a snippet from the Rails controller that handles it, and will require some translation on your part for your needs:
This controller action does a few things:
- Determines if the build has passed or failed based on the subject line of the email
- Parses the email body HTML for a link to the build output
- Spits the result of the build into Campfire
Ironically, I did not test this controller, or extract logic to a model, or anything like that.
Can we just have an API please?
The prize has arrived: Your iOS app has been built on an external server. It’s sent an email to Mailgun, which webhooked its parsed contents to another machine, and then you’ve translated all of that into something actionable, real, and tangible:

All of that just for a link in Campfire. Pretty boring.

GregT
on 14 Jan 15I know less than zero about Xcode or mobile development, so maybe this is a bad question, but I’ll try: can you quickly explain what exactly you do to verify that a test passes? For example:
1. Pixel-by-pixel screen shot comparison 2. Checking UI (eg. DOM) elements/structure 3. Eg. adding a record and then querying it and making sure it’s really there
I’m asking because I have been thinking about Selenium, etc. lately and better ways to make sure our jQuery app works properly.
Joe G.
on 14 Jan 15Tinder chat room. Always wondered how to setup.
Great tutorial, easy to follow and comprehend.
Now time to test it….
Nick
on 14 Jan 15GregT: We’ve mostly just been unit testing our iOS apps. Our next target is snapshot testing: http://www.objc.io/issue-15/snapshot-testing.html
Joe: I meant Tinder, a Ruby gem for talking to Campfire. https://github.com/collectiveidea/tinder
Max
on 14 Jan 15Great post :) I had a lot of trouble setting up Bots in a way that worked for me, not to mention the cost of a dedicated server running OS X! Did you find that this approach gave you a measurable improvement over using something such as Travis CI?
Brian
on 14 Jan 15You have more options than just an email trigger post-build. Well, one more option anyway: Run Script. I just tested this by using a script like this:
env | mail -s “Xcode Bot Environment” [email protected]
And you get enough to replicate what you’re doing with Nokigiri parsing, except probably more reliably:
This discussion is closed.